Peanut

Arachis hypogaea

Family Fabaceae

Annual annualZones 2-11

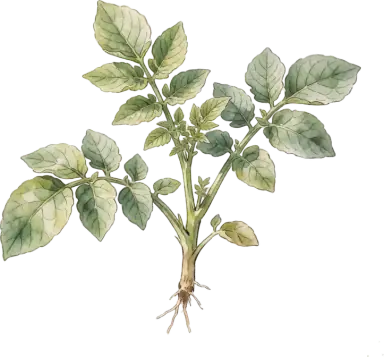
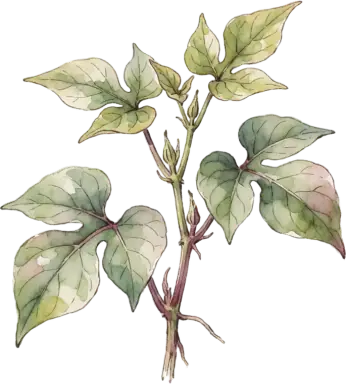
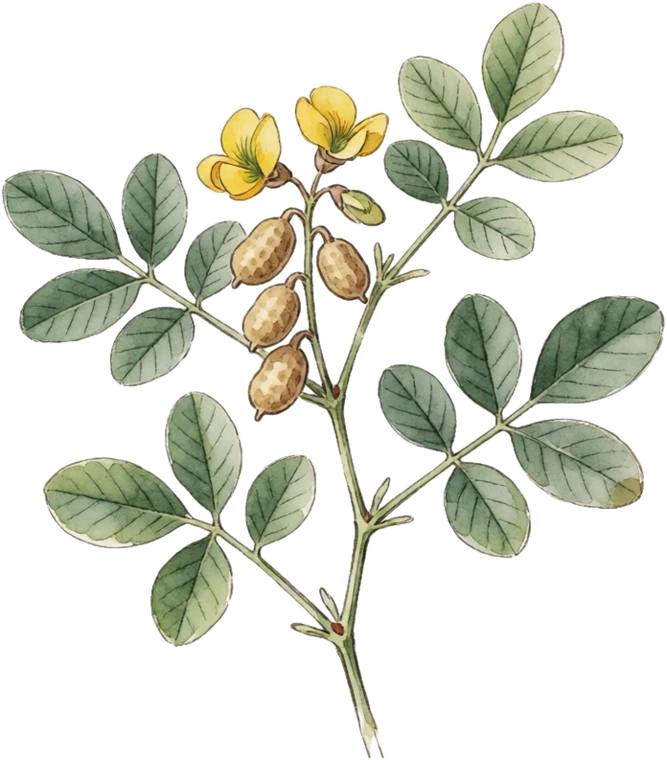
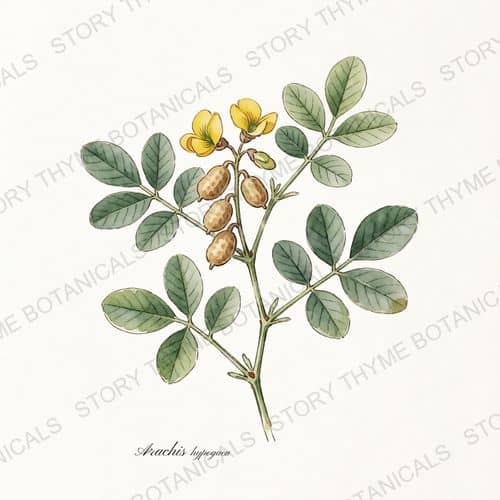
Botanical illustration of Peanut

Peanut may be the best show a garden can put on for a child: it flowers above ground, then drives each stem downward and plants its own seeds in the dark. Pull the bushes in fall and shake out a harvest that becomes boiled peanuts and home-roasted butter.

Tidy foot-high bushes with clover-yellow flowers, it behaves in a raised bed and, as a legume, leaves the soil richer than it found it. 'Valencia' types bring genuine boiled-peanut season to zone 5. Devote one sandy bed and let the kids dig the reveal.

Where to buy peanut — 2 nurseries compared

  • Full Sun
  • Moderate water
  • Moderate growth
  • Excellent edible
  • None winter chill
Peanut — a print from the Plant Library collection

From the print shop

Growing peanut? Hang it.

Our Plant Library collection carries peanut — Arachis hypogaea, print Nº 354, “Peanut.”

526 designsfrom $12.99white or black backgroundmatte poster, unframed

Shop Plant Library botanical prints →

✓

Will it fruit where you are?

Enter your ZIP — we look up your USDA hardiness zone (2023 map) and check it against what peanut actually needs.

Life cycleAnnual
Winter chillNone
PollinationSelf-fertile

Peanut · Common problems

Common peanut problems

Pests, diseases and weather to keep an eye on.

Pests

2 problems on file

Diseases

4 problems on file

Peanut · Growing & propagation

Growing peanut

Light, water, soil, propagation and the season’s jobs.
What it needsThe details
Light
Full Sun
Water
Moderate

Dry-down at maturity

Soil
SANDY, loose

Pegs must penetrate; clay = crop failure · pH 5.8 - 6.5

Fertilizer
None (N-fixer)

Calcium (gypsum) at bloom for filled pods

Pruning
None

Hill loose soil at bloom like potatoes so pegs land soft.

Spacing
8-12 in

How to plant & propagate peanut

Maturity
120-140 days
From seed
Direct-sow after frost in sandy soil

Needs a long warm season

Propagate
From seed

Peanut · Harvest & keeping

What you get from peanut

How long before it bears, how much it gives, how you know it is ready, and how long it keeps once picked.
Botanical illustration of Peanut
Years to first harvest
0 years
Typical yield
0.1–0.3 lbs
What you eat
Seed (legume)
How to tell it is ready
Foliage yellows in fall; pull a test plant

Inner shells veined and dark-marked mean ready

How long it keeps
Months once dried and cured

Peanut · Seasonal care & spray guidance

The peanut growing playbook

Field-tested instructions for every job peanut asks of you, compiled from university extension guidance — in the order the season brings them.

As growth begins

early spring

2 jobs
SowingIn spring

Direct sow into warm soil, once frost is past

Wait until soil at the 4-inch depth averages at least 65 F for three straight days with warm weather in the forecast, then sow shelled seed 1 to 1.5 inches deep, 10 to 12 inches apart, in rows 36 inches apart. Warmer is better: UGA measured 70 percent germination after a week at 65 F versus 90 percent at 70 F, and prefers to wait for 68 F. Peanuts are tender and resent transplanting, so seed them in place. Count your frost-free days first: the crop needs a minimum of 120 of them, so short-season gardeners should choose a Spanish or Valencia type rather than a Virginia or Runner. Peanut is a warm-season annual from South America with no frost tolerance, and seed sown into cold soil emerges erratically or rots, which invites seedling disease and thrips damage. The whole crop has to flower, peg, and fill pods before the first freeze, so the length of your frost-free window, not hardiness zone, decides which type can finish. Arkansas Extension gives the depth, spacing, and the 120 frost-free day minimum; the 65 F at 4 inches threshold is the standard extension planting rule rather than a figure from that fact sheet.

FeedingIn spring

Inoculate the seed and hold back the nitrogen

Dust the seed with a peanut-type Rhizobium inoculant at planting, especially in ground that has never grown peanuts. Skip nitrogen fertilizer. Aim for a soil pH of 5.8 to 6.2, and avoid heavy spring potassium near the row. Peanuts fix their own nitrogen once Rhizobium bacteria nodulate the roots, so added nitrogen just buys vine at the expense of pods, and the bacteria are often absent from soil with no peanut history. High potassium in the pegging zone competes directly with calcium uptake, which is the nutrient the pods actually need.

While it flowers

at bloom

3 jobs
MulchingAt bloom

Loosen and lightly mulch the row as pegs form, then stop digging

Once flowering starts, hill loose soil toward the plants and lay 1 to 2 inches of light organic mulch around them. Pull weeds in the row by hand from here on. Do not cultivate or disturb the soil after the pegs have buried themselves. After a flower is pollinated its stalk elongates into a peg that drives down into the soil, and the pod forms at the tip. A peg will push through loose soil on its own but cannot penetrate a hard baked crust, and a hoe run through the row after pegging simply severs the crop you are growing. Only about 15 percent of flowers ever set a pod, so protecting the ones that peg matters.

FeedingAt bloom

Gypsum at early bloom, before the pegs go down

As the first yellow flowers open, work agricultural gypsum into the top few inches of soil along the row. Virginia types, with their big pods, need roughly twice the calcium of Spanish and Runner types. If a pegging-zone soil test taken 3 inches deep beside the row already shows 500 lb per acre of calcium and a calcium-to-potassium ratio of 3:1 or better, you can skip it. The developing pod cannot pull calcium up from the roots; it absorbs it directly out of the soil water surrounding it, and about 92 percent of that uptake happens within 20 to 80 days after the peg enters the ground. Miss the window and you get empty shells called pops, pod rot, and seed that will not germinate next year.

SprayingAt bloom

Leaf spot: start chlorothalonil around 30 days after planting in humid regions

Where summers are warm and rainy, begin chlorothalonil about 30 days after planting and no later than 45 days, repeating every 14 days. Look for pencil-width brown spots with a yellow halo on upper leaf surfaces, or darker black spots with feathery margins and heavy sporulation underneath. In dry-summer gardens, scout instead and spray only if lesions appear. Stop spraying 14 days before you plan to dig; a last application around 120 days after planting usually carries control through to harvest. Early leaf spot (Passalora arachidicola) and late leaf spot (Nothopassalora personata) infect during prolonged leaf wetness between 65 and 90 F, and lesions do not surface for 10 to 14 days after infection, so by the time you see spots the next cycle is already underway. Unchecked, they defoliate the plant and the pods stop filling.

Through summer

the growing season

1 job
WateringThrough summer

Keep water steady through pegging and pod fill

From roughly 55 days after planting until about 95 to 100 days, keep soil moisture up: peak use can reach 0.3 inches per day, more than 1.5 inches per week. Water before the plants look stressed rather than after. On sandy soil, reserves can run out in about three days at peak demand. Blooming, pegging, and pod development are when the crop's water use peaks, and this is also when soil water carries calcium to the pods. Dry soil bakes the surface so pegs cannot enter, and once drought symptoms are visible the yield loss is already irreversible. Steady moisture also cools the soil, which suppresses the Aspergillus flavus and A. parasiticus that make aflatoxin under hot, droughty conditions.

Harvest time

as it ripens, and picking

1 job
HarvestingAt harvest

Dig when the hulls darken inside, not when the calendar says so

For boiling peanuts, dig green at 90 to 110 days after planting. For roasting, wait 130 to 150 days and check maturity by scraping or blasting the outer hull off a sample of pods: dig when 65 to 70 percent show dark hull color inside. The foliage yellowing is your cue to start checking. Dig when the soil is dry enough to shake off the plants, and lift the whole plant rather than pulling pods. Pods on one plant mature over a long span, and the hull's inner color is the only reliable read on the crop as a whole. Dig too early and the kernels are immature and flat; wait too long and the pegs rot through so the oldest, best pods stay behind in the ground. Late-season rain on an over-mature crop also drives fungal growth and aflatoxin.

After harvest

autumn, and putting it to bed

1 job
ProtectionAfter harvest

Cure dry and fast, or risk aflatoxin

Following Arkansas Extension's curing sequence: stack or hang the pulled plants upside down in an open shelter or a warm, dry shed or garage with free air movement for about a week. Then shake off the remaining soil, pull the pods from the vines, and air-dry them another one to two weeks. Do not pile wet pods in a closed container or bag. The target is about 7 percent moisture in the pod; once dry, pods keep for close to a year at around 70 percent relative humidity and 77 to 81 F. Freshly dug pods are wet and must be dried down to about 7 percent moisture. Aspergillus flavus and A. parasiticus grow and produce aflatoxin once pod moisture sits above 8 percent, with optimal growth at ambient temperatures between 82 and 98 F and high relative humidity above 85 percent, which is exactly the microclimate inside a heap of undried peanuts.

Peanut · Calculators & field guides

A little help in the garden.

Calculators for the figures. Field guides for the hands-on work.

Peanut · Yearly calendar

The peanut year, month by month

What peanut asks for, month by month.

Jan

No calendar activity is listed for this month.

MonthJanFebMarAprMayJunJulAugSepOctNovDec
Bloom
Harvest

BloomJune to August

HarvestSeptember to October

What each band means

  • Bloom — flowers open — pollinators working, frost on blossoms is the danger.
  • Harvest — picking time — check ripeness every few days.

These are the species' typical months — expect them a few weeks earlier in warm zones and later in cold ones. Watch the plant, not just the calendar.

Peanut · Ecology & uses

Ecology & uses

What it does for the garden, and what it is grown for.
Botanical illustration of Peanut

Arachis hypogaea

Peanut in the garden system

  • Root layer annual
  • N-fixer
Moisture
Facultative / average
Deer
Browsed

Protect young plants

Origin
Introduced

What peanut is grown for

✓ Commonly eatenPeanut allergy is serious — otherwise safe; raw green peanuts must be boiled/roasted

Use
Boiled peanuts
Use
Roasting
Use
Kid science
Edible value
4/5

Harvesting & storing peanut

September - October when leaves yellow: pull whole plants, shake, cure upside-down 2 weeks — then roast or boil. About 120-140 days from planting.

Edibility, identification, and traditional-use notes here are general reference — not medical or veterinary advice, and not a claim that any plant treats or prevents anything. Medicinal ratings record how strongly a plant features in herbal tradition, nothing more. Never eat or dose a plant you have not positively identified. More on how to use this library.

Peanut · Varieties & cultivars

Best peanut varieties & cultivars

There are far more than these — the ones below are the named varieties of peanut people actually plant.

Named varieties of peanut differ in days to maturity, disease resistance, flavor, and habit — pick one that fits your season and space.

7 varieties

Early Spanish

Self-fertile

Zones
3-11
Size
Upright, compact bunch plants

Small kernels, the classic roasted and candy peanut — The fastest peanut in the Arkansas Extension table at 105 days, which is what makes it the safe pick where the frost-free window is short. Two to three kernels per pod. Zone range reflects the sourced maturity figure against the crop's 120 frost-free day minimum, not cold hardiness, since peanut is a tender annual everywhere.

Where to buy ‘Early Spanish’

Story Thyme Farms may earn a small commission from these links, at no cost to you — it never changes what we recommend.

Sources & plant identity

Know what you’re growing.
See where the knowledge comes from.

Botanical illustration of Peanut

Peanut

Arachis hypogaea

The plant, at a glance.

Botanical name
Arachis hypogaea
Plant family
Fabaceae
Growth habit
Annual
Origin
Introduced
USDA plant symbol
ARHY
Invasive risk
Low
Every garden is different.

Hardiness, size and timing vary with your cultivar, soil and climate.

Rooted in research.

University extension research, brought together with hands-on growing experience at Story Thyme Farms.

Explore Peanut’s sources1 reference link
for Peanut

Research from these sources

Publisher marks identify sources, not sponsorship or endorsement.

Questions

Peanut questions, answered straight.

Do I need two peanut plants to get fruit?

No — peanut is self-fertile, so a single plant will set a crop. A second one usually improves yields, but it isn't required.

Is peanut safe for kids and pets?

Peanut is commonly eaten and isn't considered toxic, but "commonly eaten" isn't a guarantee for any particular person or animal — allergies, quantity, and which part you eat all matter. One caveat on this one: Peanut allergy is serious — otherwise safe; raw green peanuts must be boiled/roasted. Never eat a plant you haven't positively identified, and check with a vet before letting pets or livestock graze anything new.

When do you harvest peanut?

September - October when leaves yellow: pull whole plants, shake, cure upside-down 2 weeks — then roast or boil. From planting, expect about 120-140 days to maturity.

How do you propagate peanut?

From seed.

Elsewhere

Where peanut sits in the library.

Where peanut sits in the library

Grows in the same world